How to Sear Your Meats
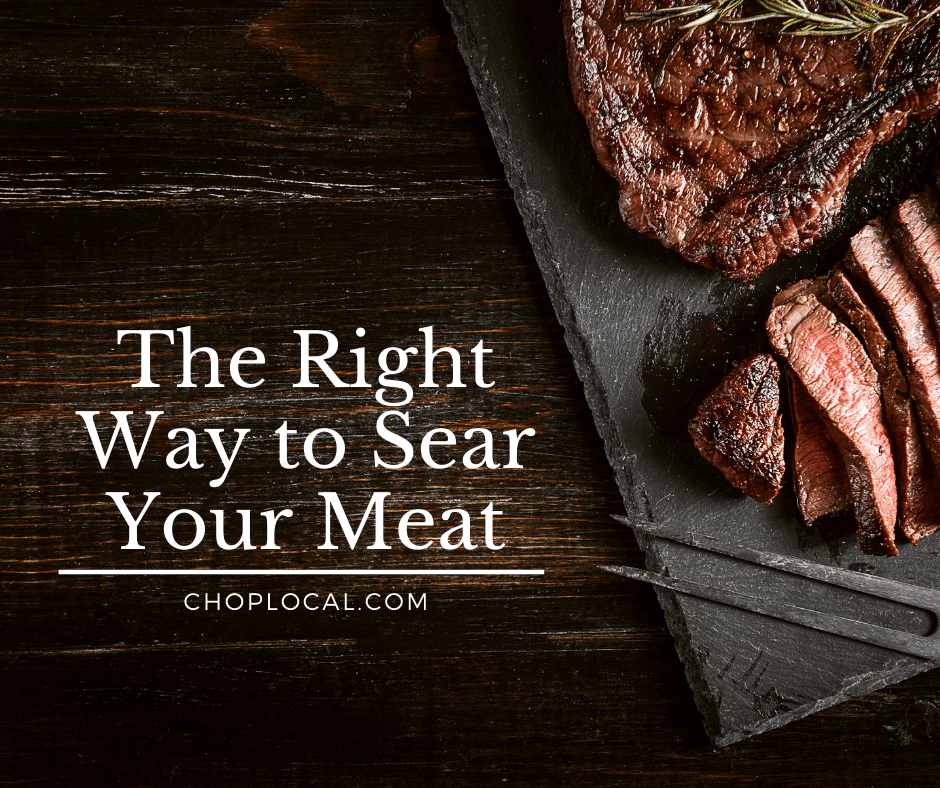
Here at ChopLocal, our goal is to provide you with high-quality meat and a satisfying eating experience.
Our farmers and butchers have done most of the work - raising and cutting amazing meat for you to enjoy.
But unfortunately, you have to do some of the work yourself. Our meats arrive frozen, and it’s up to you to prepare them.
So how do you transform your frozen steak, pork chop, or roast into a delectable main dish?
Start by searing it.
Could you skip this step?
Sure.
Should you skip this step?
Never.
Why should you sear your meat?
Searing meat, also called browning, enhances both the flavor and appearance of your meats.
Many people believe that browning “locks in juices,” but in reality, it improves meat in a very different way - the Maillard reaction. This is the chemical reaction that occurs when foods are cooked, and it doesn’t just affect meat.
Without writing a textbook about food science and chemistry, the Maillard reaction is best understood as the changes that occur when the proteins and sugars in a food are exposed to heat. And those changes are delicious. The Maillard reaction is responsible for the toast on your bread, the roasted taste of your coffee, and the depth of the flavor in your meat.
The Maillard reaction takes place quickly at high temperatures, and slowly at lower temperatures, so slowly, in fact, that we don’t usually get to taste its amazing flavor when slow-cooking larger cuts of meat.
Searing the meat at high temps gives us the beautiful brown flavor and color much more quickly and reliably.
Steps to Searing (Browning) Meat
1. Salt the meat.
Many people believe that salting meat draws out too much moisture, but when done in advance, salt can actually penetrate the meat and tenderize it. “With time, salt will dissolve protein strands into a gel, allowing them to absorb and retain water better as they cook,” says Samin Nosrat in her book, Salt, Fat, Acid, Heat. “The piece of meat remains moister and you have a greater margin of error for overcooking.”
According to Nosrat, who also stars in the popular Netflix series by the same name, roasts should be salted 2 days in advance and chicken and thick steaks benefit from salting the day before cooking.
However, you do NOT need to add other seasonings before searing. You’re going to be cooking the exterior of your meat at very high temperatures, and the other seasonings will simply burn on the surface.
2. Preheat your pan.
Place your cast-iron skillet in a hot oven for the best results. You want your pan to be hot before you add the oil, and you want the heat to be evenly distributed. A hot oven is one of the best ways for home chefs to get this job done.
Flick a few drops of water off your fingertips onto the pan. If they sizzle, the pan is hot enough and you can move it to a hot burner on your stovetop.
(Don’t have a cast-iron skillet? Or meat too large to fit inside? Use an oven-safe pan with shallow sides. Even a hot baking sheet will work in a pinch.)
3. Add a small amount of a neutral tasting oil.
How much oil do you need?
Think of the oil as an extension of the pan. The oil keeps the meat from sticking, and allows heat to uniformly brown the uneven surface of the meat. You need just enough to do that job, and no more.
How do you know the oil is hot enough? The oil should shimmer when you add it to the pan, and if you splash a drop of water on the surface, it should sizzle.
However, there should not be any smoke coming from the surface of the oil. Just as water turns to steam when it is heated, oil turns to smoke at a certain temperature. Canola, peanut and grapeseed oils work well for searing because of their high smoke point and neutral taste. They can withstand the high temperatures needed for searing without burning. (Butter, on the other hand, will burn and smoke at much lower temperatures than these oils.)
*Note: add the oil AFTER pre-heating the pan. If you heat the pan and oil at the same time, the oil will begin to break down.
4. Pat the meat dry and add it to the pan.
All of the water on the surface of the meat has to evaporate before the Maillard reaction can occur, so you can speed this process by drying the meat with a paper towel.
Then, gently place the meat in the pan. It should sizzle as you do this. If it doesn’t, remove it carefully and heat your oil a bit longer.
5. Brown all sides of the meat.
Resist the urge to move your meat too frequently, and don’t worry if it sticks at first. It will release as the Maillard reaction progresses.
Wait patiently for the browning to occur, and then flip the meat to the other side using tongs.
You also want to sear the sides of the meat. Stand the meat on its side and balance it carefully or hold it with tongs while it browns.
*Be careful. Browning and burning are NOT the same thing. If the meat starts to burn or the oil starts to smoke, turn down the heat.
6. Deglaze the pan.
After removing the meat, pour a cup of water, wine or other liquid into the hot pan and scrape up all the little bits on the bottom. Depending on the rest of your plan, this “fond” (the combination of your liquid and pan scrapings) can be used to make a sauce, braise the meat, or make gravy. No matter what, don’t let those flavorful little bites go to waste.
7. Cook through.
After all sides are browned, thin or delicate cuts of meat may already be at the desired temperature. For larger, thicker, or tougher cuts, finish cooking at a lower temperature on the stove, on the grill, or in the oven.
Remember to plan for carryover cooking. Even after removing from heat, meat will continue to cook, especially cuts with a higher fat content. The fat retains heat well, causing the overall temperature of the meat to continue to rise.
Reverse Searing
It’s also possible to follow this process in reverse.
Cook thick or tough cuts of meat with low heat, and sear the meat shortly before serving. You can still benefit from the delicious flavors created by the Maillard reaction by browning the meat at the end of your cooking process.
Whether you sear the meat at the beginning or the end, this ChopLocal Chef’s Secret is a sure-fire way to please your taste buds.

